Ever wondered how to build up a custom club? Or perhaps just wondered how clubs are put together? Let’s have a look at the process.
A friend of mine wanted to custom make a set so we headed out to my backyard shed and got cracking. Don’t be afraid to roll up the sleeves and and have a go yourself. With a little practice and the right tools you could do the same.
What you will need…
– Club making glue (2 part epoxy)
– Ferrules
– Shafts
– Club heads
– Shaft cutter (I use a Dremel tool)
– Grips
– Grip tape
– Iron head wire brush drill bit
– Solvent (mineral turpentine)
– Cutting blade (hook) if removing old grips
– Masking tape
– Vice
– Rubber shaft holder
– Plastic container
– Rag
– Air compressor (not essential but handy)
– Bench grinder or file
Let’s assume that you are making these clubs from scratch using just the components (nothing put together yet). If you are actually doing a club repair these steps can be followed also.
A detailed article on how to put new grips on golf clubs can be found here (How to Re-Grip a Golf Club), so I will skim over this section.
What to do…
Step 1 Source components and supplies.
Work out what equipment you need and want then source your components. We went for Titleist 712 CB heads with KBS Tour 110 regular shafts, Golf Pride Tour Velvet Cord grips and ferrules sourced from eBay to match the shaft and head specifications.
Finding components is fairly easy on the internet and shipping internationally can save you a lot of money. You do want to make sure you buy from reputable sellers and double check that you have ordered all the components you need.
The next step is to buy the club making supplies. I have been using Mr Golf Grip lately and find them to be very good. Quick shipping and good prices. You will need glue, grip tape, solvent, a shaft vice grip and a cutting blade.
The rest of the supplies you can find at pretty much any hardware store.
Step 2 Measure and cut shafts.
Make sure your work space is clean, dust free and clear of clutter. The best results come from careful preparation so take the time to prepare properly.
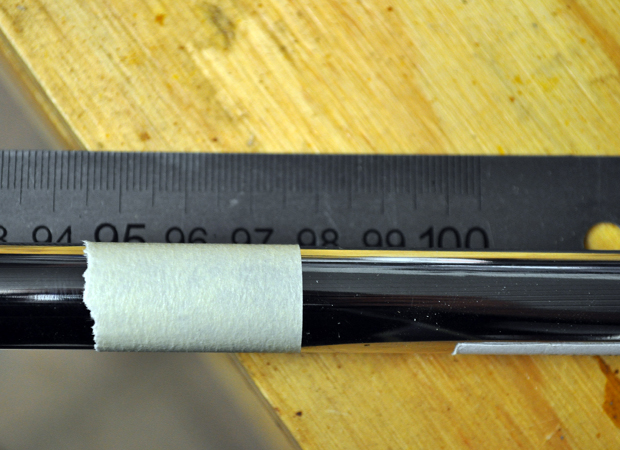
Measure your shafts and cut them to length. The shaft will typically come with a sticker telling you which iron they are intended for. You will need to cut them down to the length you require. Check out this handy guide for information on shaft lengths.


NOTE: Always cut the length from the butt of the shaft with irons. When dealing with graphite shafts refer to manufacturer specifications. Some require tipping and then length taken from the butt. You can change the stiffness and characteristics of a shaft by trimming them in specific ways.

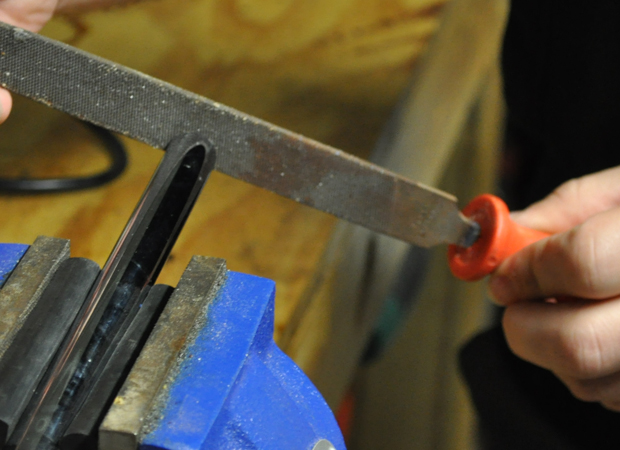
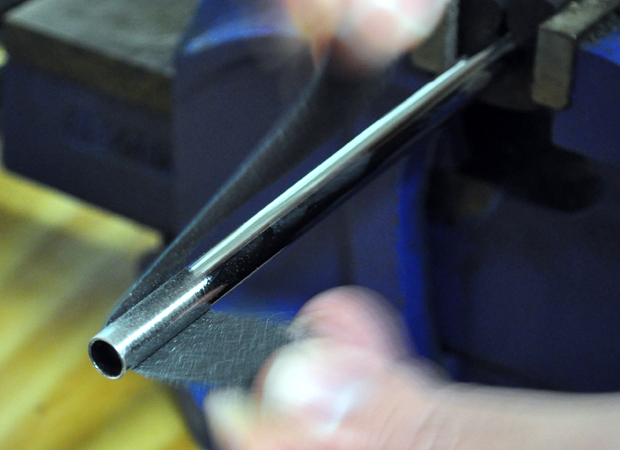
TIP: I like to measure then place a tape line to cut along. Use a grinder or file to take off the burrs when you have finished cutting.
Step 3 Sand the shaft tips.
To ensure you have a good surface for the glue to adhere to, use some coarse sandpaper to thoroughly roughen the tip end of the shaft. Just make sure not to go to far up the shaft as you will see the scratches later (we don’t want that!).

TIP: If you are unsure about how far to come up the shaft, place the ferrule and the iron head on to check. You could even mark it with a marker to make sure you don’t go too far.
Step 4 Clean the surfaces to be glued.
As we sourced second hand heads, there was still a bit of glue where the old shafts had been pulled. Use a wire brush drill bit to clean out the old glue from the inside of the head. I like to also use some acetone to clean out any left over glue and dust from inside the hosel. A bit of rag wrapped around some wire works well for this.

Step 5 Attach the ferrules.
Place a small amount of glue on the end of the shaft and push the ferrule on. Insert the iron head and continue to push until the ferrule is in place.


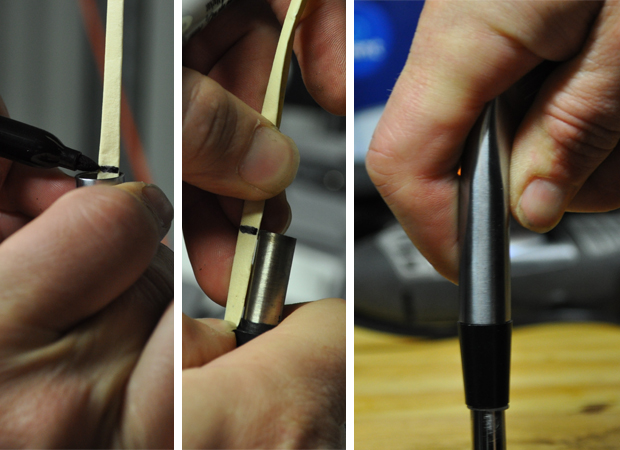
TIP: If you feel like the ferrule is not on far enough insert something narrow inside the hosel and mark how far down it goes. Compare the mark with the ferrules position on the shaft. If they don’t match try forcing it by holding the head and banging the butt of the shaft on a block of soft wood. This should enable you to get the ferrule in the correct position with the shaft fully inserted into the club head.
Step 6 Attach the head.
Roll the tip of the shaft in the glue to give good coverage. I like to also place some glue on the inside of the hosel to ensure even coverage to the entire surface. Push the head into place. If you have spine aligned shafts you will need to make sure you place them in the correct orientation. Leave the heads to cure.

TIP: On some re-shafts the shaft has a cover or weight in the end or tip of the shaft. If the air has nowhere to go the club head will not seat in the correct position. It will feel hard to push down and spring back up a bit. You can drill a small hole in the weight or cover to allow air to escape.
Step 7 Align the ferrules with the heads.
Sometimes the girth of the ferrules may not quite match that of the heads. There might be a small step. Whilst this isn’t a problem in terms of performance, we want these clubs to look beautiful. Acetone can be used to smooth down the ferrules. Simply dampen a rag with some acetone and turn the club around in your hands, lightly rubbing the ferrule. The acetone works to incrementally dissolve the ferrule, slowly shrinking it. Work slowly here, don’t rush it. Keep turning the head until you are happy with look and feel.

Step 8 Apply grips.
Please refer to this article for detailed instructions: How To Re-Grip A Golf Club.
Step 9 Attach the shaft stickers.
Decide on your preferred position. Most people like to place it at the back of the shaft so that it’s not visible at address. It’s really up to you.

Step 10 Allow to dry.
Don’t be tempted to use them too early. The glue needs time to set for the strongest bond. Refer to the glue manufactures recommendations. 5 minute epoxy will set faster but will have a slightly weaker bond compared to 24 hour epoxy.
That’s it! Now you can hit the course with your custom set of clubs. Not only will you know how your clubs have been put together you will also know how to fix any potential future problems.
Don’t be afraid to have a go at club repair. Once you gain a bit of knowledge and experience, you’ll be hooked. You might even find it will save you a heap of money and time.
Luke @ Golf Blog Australia
Very interesting read Luke never thought of giving it a go but maybe i will…
Luke
Thanks for the detailed description of how to make clubs. I am not sure I really understood the process before.
Cheers
Jim
Hey Jim,
Thanks for that. You can really save yourself a lot of money! I really like knowing how to repair and make custom setups.